It’s late December and 40 degrees – warmer than a typical day in December – so I take a walk to my beehives to see how the girls are doing. At this time of the year, the beehives are still, and the only sign of bee activity is a few dead bees at the entrance. I walk around the hives, and notice one single bee fly out of the hive. It flies in larger and larger circles until she is out of sight. This is a “cleansing” flight, and what I was hoping to catch – something bees do when the weather is tolerable for flight. Lately, the weather has been below freezing, but about a week ago the temperatures were in the mid-50s and the bees were flying happily like an 80 degree summer day. So far, the bees are doing well. I do hope they make it through the winter.
Aside from occasionally walking to the bee yard, there is nothing else that needs to be done. With Christmas only a few days away, I’ve turned my attention to indoor projects: beeswax and mead. Here’s a little bit of what I’ve been up to the last few weeks.
I was excited to use my beeswax for something, but I didn’t have quite as much as I wanted for pure wax projects, like candles. Instead, I found instructions for making beeswax lotion bars. The added beeswax is great for skin, and allows the lotion to keep its shape to whatever mold you want. These lotion bars look, smell, and feel beautiful! I made about 15 beeswax lotion bars, with more wax to spare for future projects.
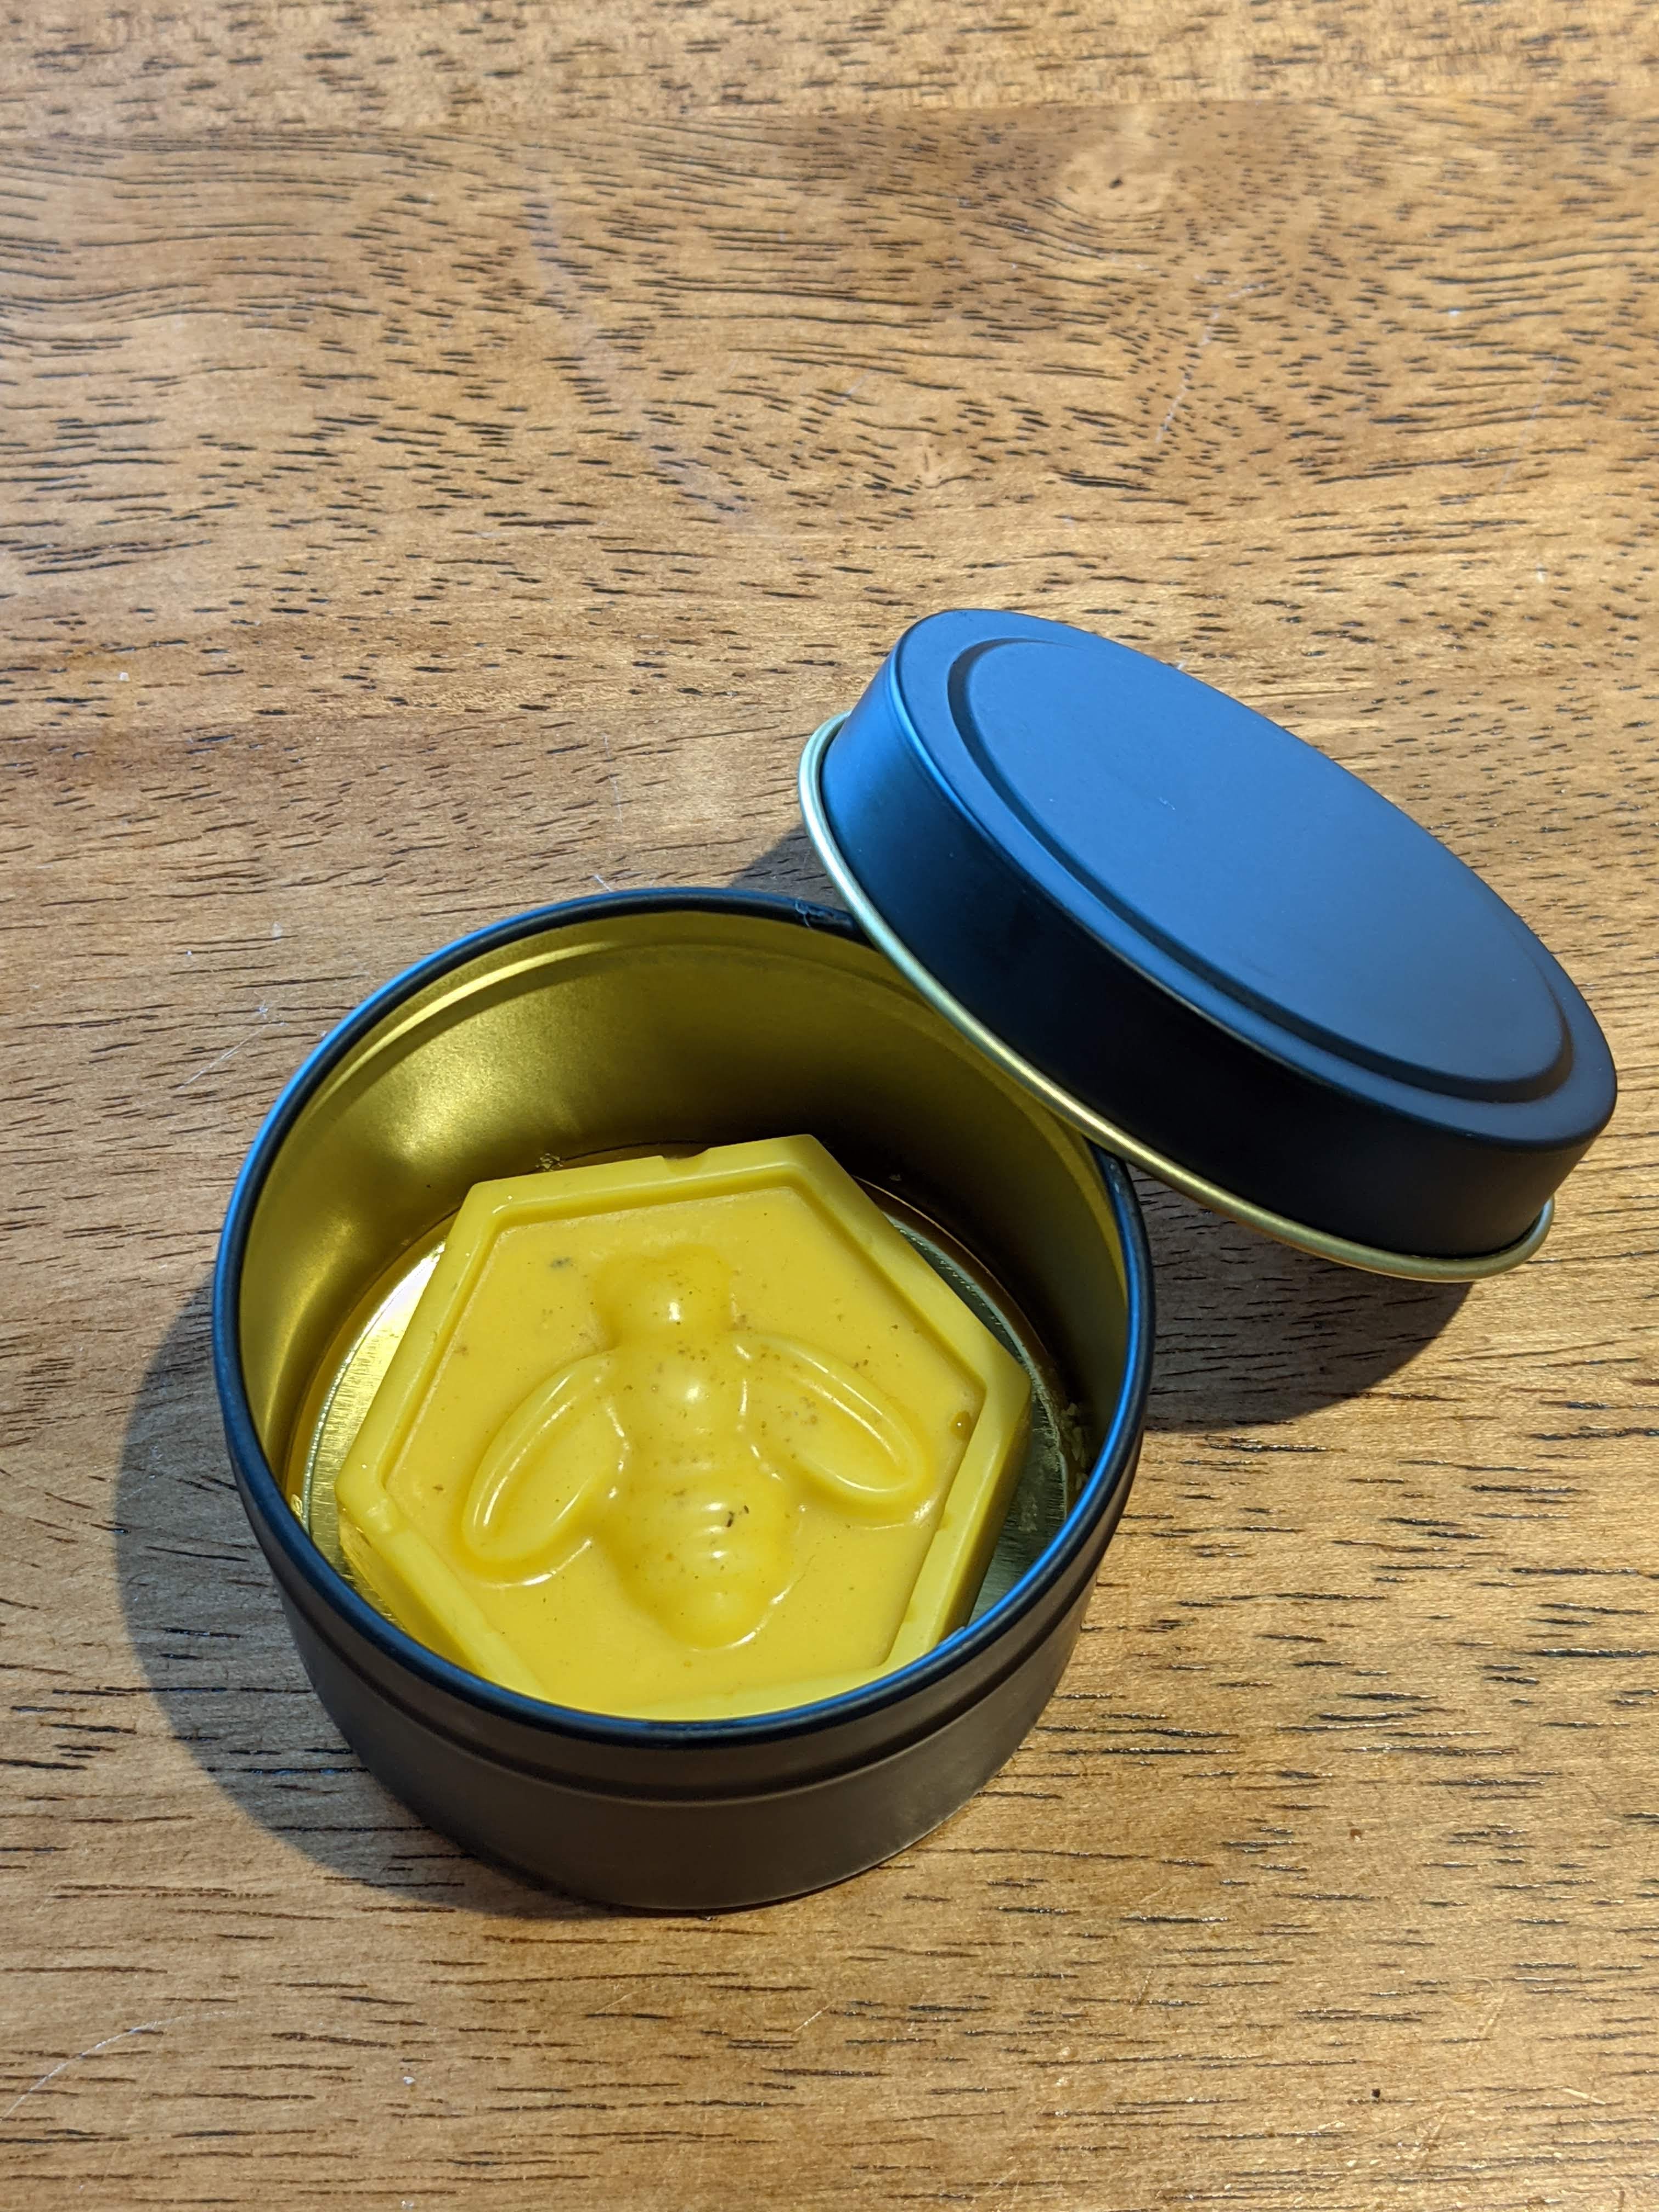
I measured out equal weight of beeswax, shea butter, and coconut oil. Then melted it carefully over a double-boiler. I used the same double boiler as my wax rendering process (see the previous post) so not to “ruin” our normal pots and pants. After all wax melted and mixed, it took it off the heat and added chamomile infused olive oil, lavender essential oils, and peppermint essential oils. You can find the recipe here. I then poured the melted mixture into my silicone bee molds, and let it sit until hardened. I bought the above tins to make candles, but these work perfectly as lotion bar holders. Now, all I need to do is gift them to my family and friends.
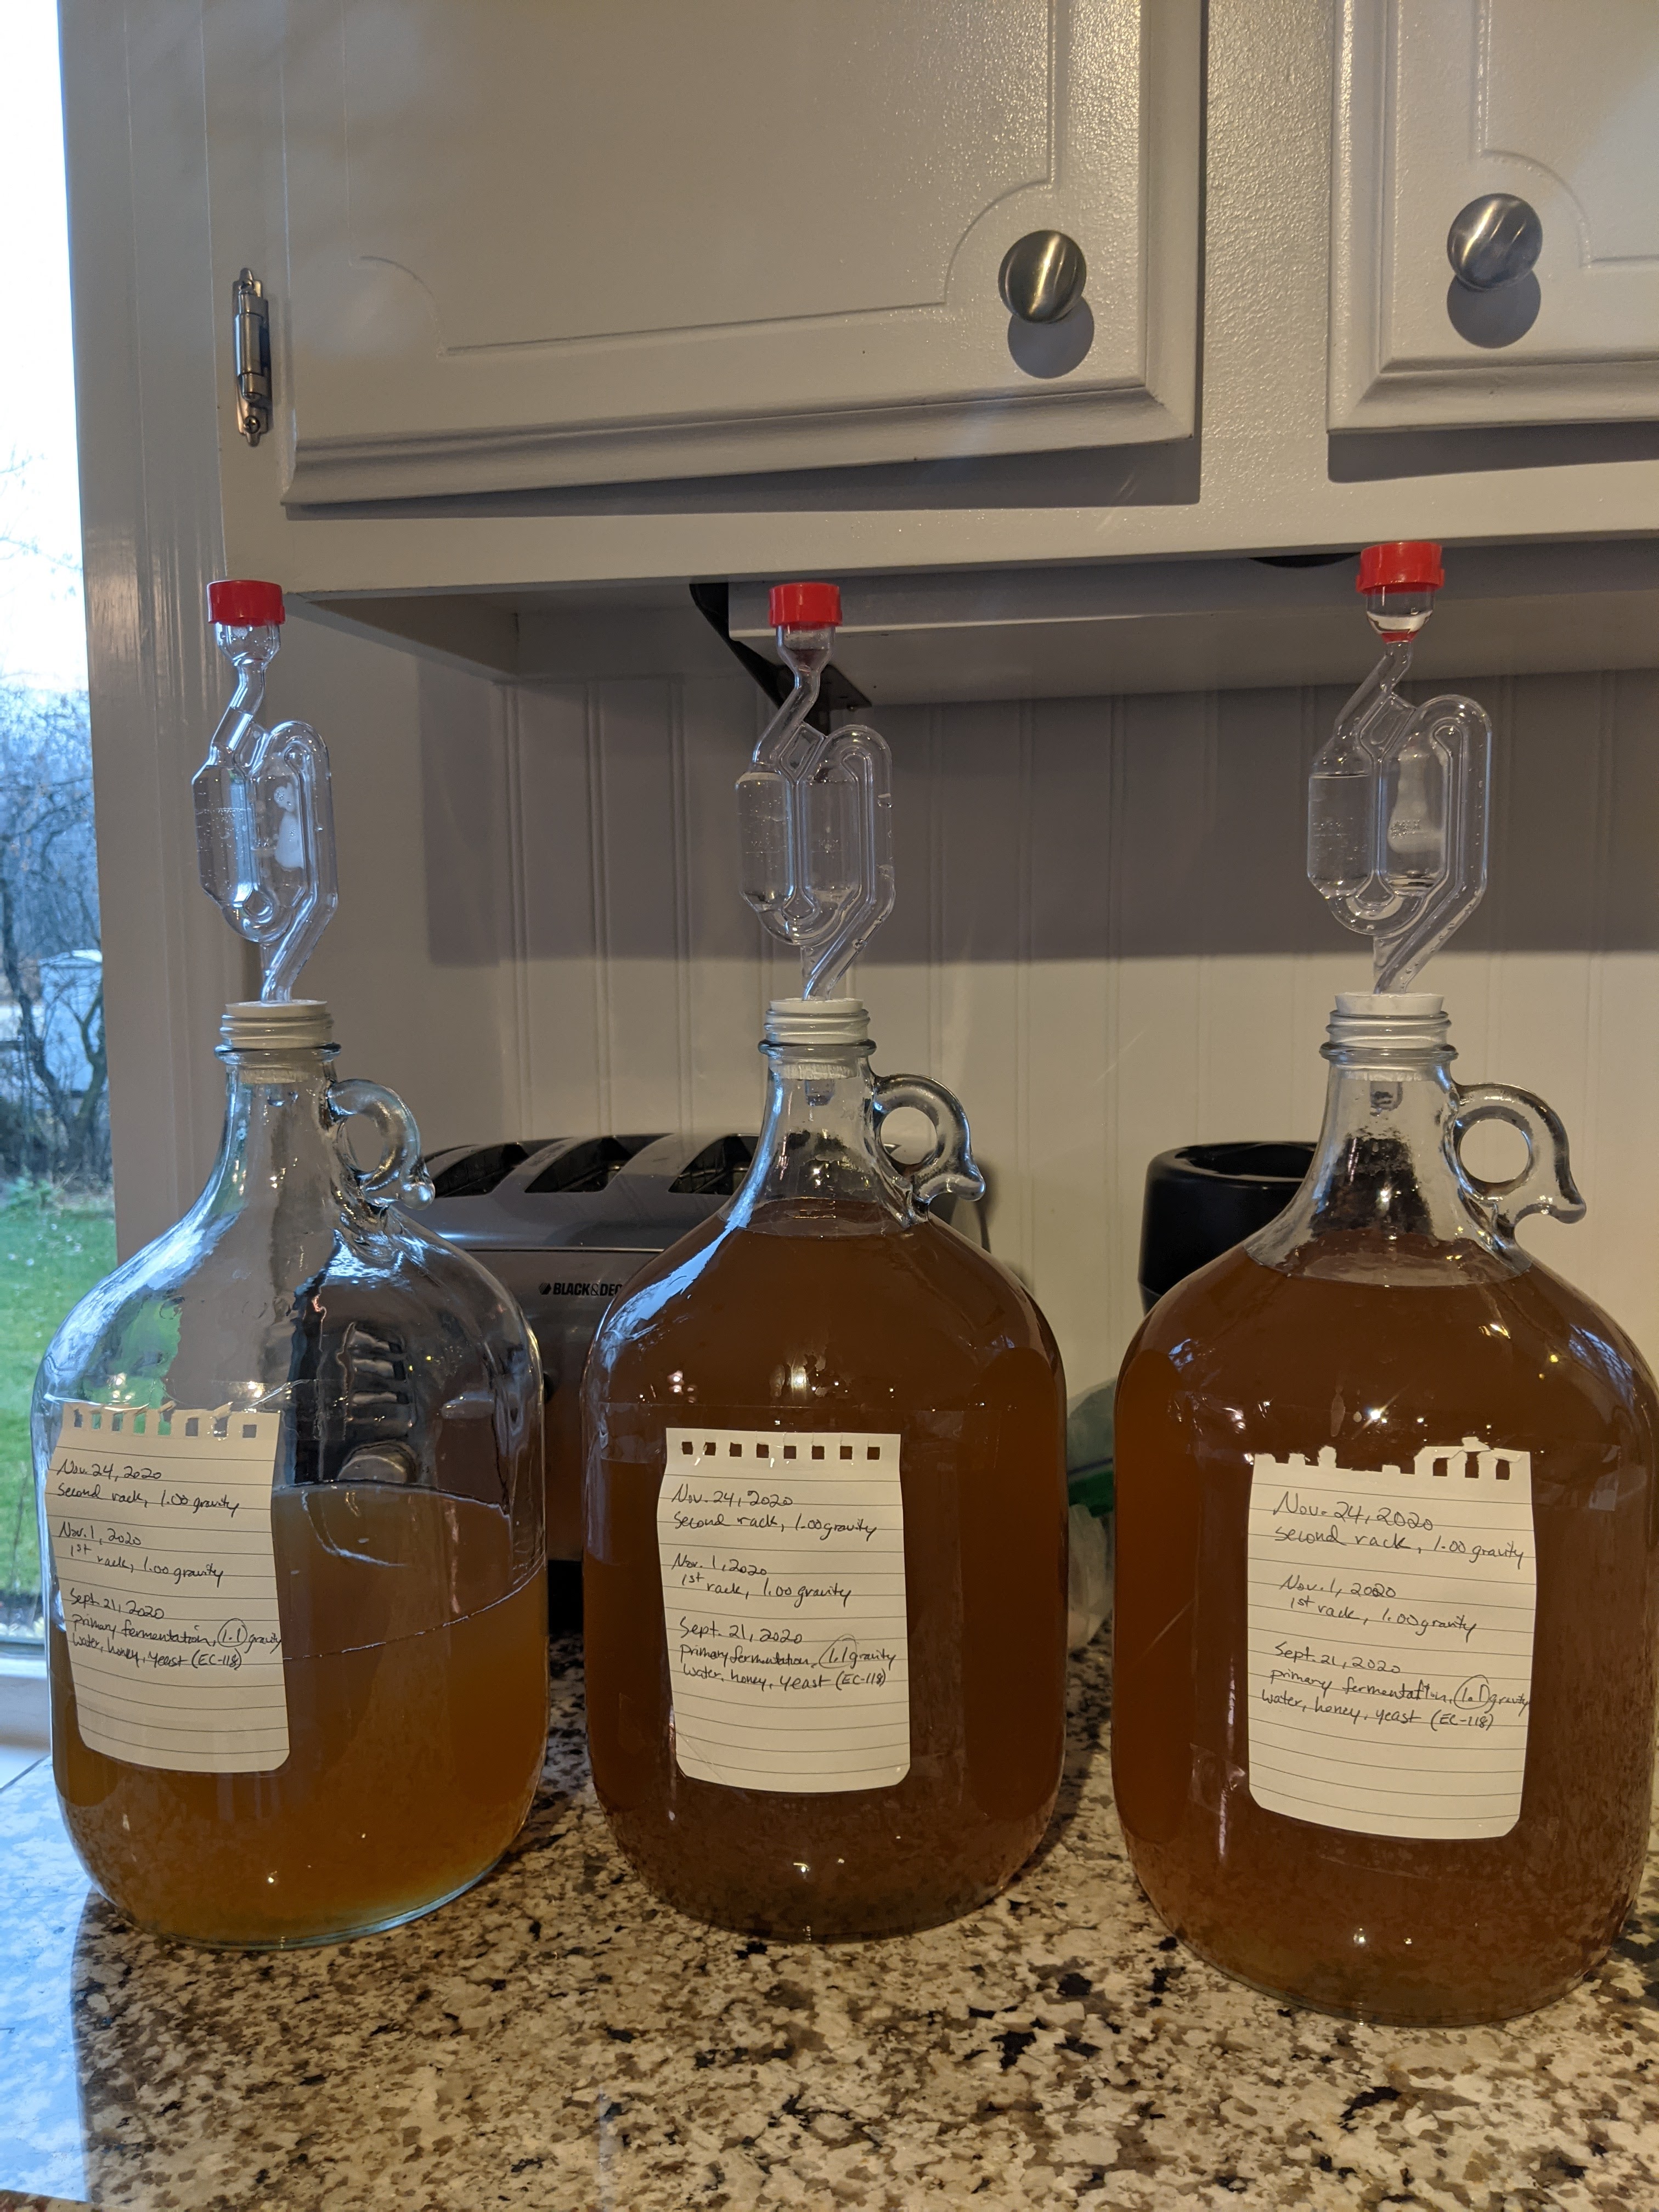
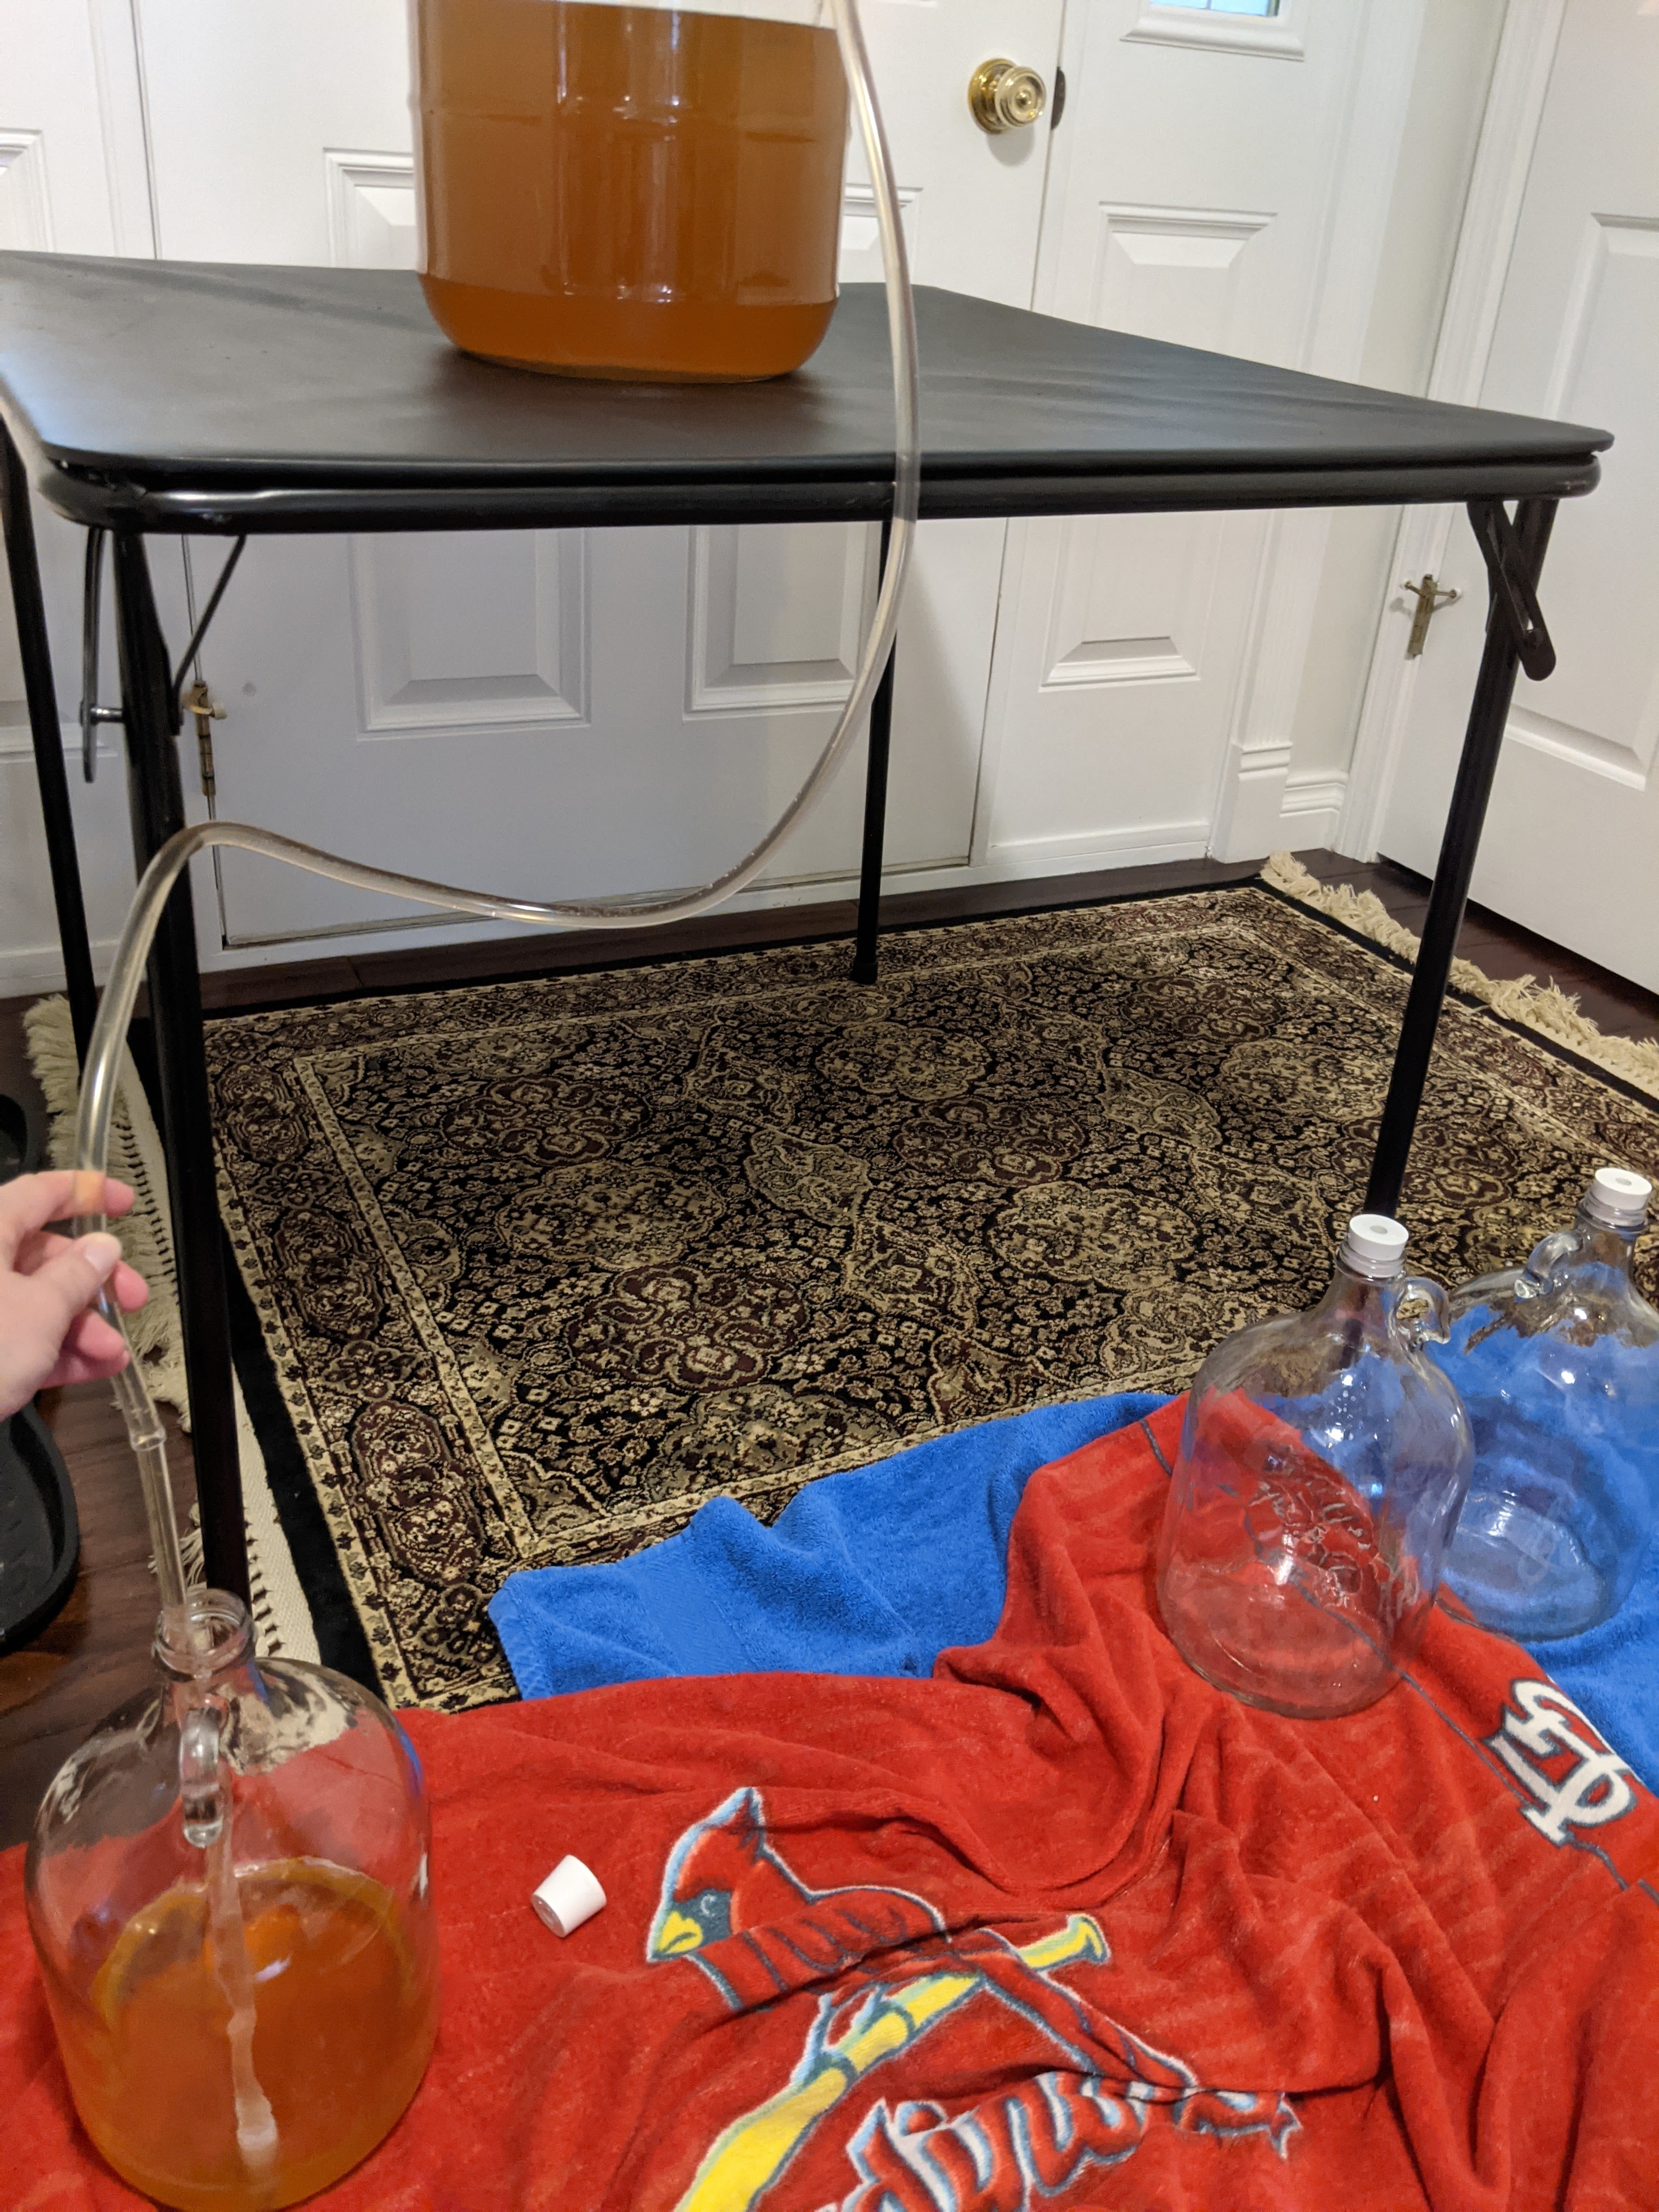
As a separate project: I purchased three one-gallon carboys to hold the mead better, and free my larger buckets in case I want to use them again. In these carboys, the mead can sit for as long as I want it to. With the smaller size, they are now tucked away on the top shelf in my basement pantry. You can see that I ended up with about 2.5 gallons of mead. I lost mead in the first two transfer processes, while tossing out the dead yeast that settled at the bottom – all part of the normal process.
I’m at the “set it and forget it” stage. It’s time to let this mead age.